
How To Make Flan De Coco: A Popular Costa Rican Dessert
Article last updated on April 7, 2020. Note that an old date may indicate that an update is not required, not that the text is outdated.


Article written by Nikki Solano
Nikki is the CEO of Pura Vida! eh? Inc. (Costa Rica Discounts), the creator and narrator of Spotify's Costa Rica Podcast with Nikki Solano, and the author of the guidebooks Moon Costa Rica (2019, 2021, 2023, and 2025 editions) and Moon Best of Costa Rica (2022 edition) from Moon Travel Guides. Together with her Costa Rican husband, Ricky, she operates the Costa Rica Travel Blog, created the online community DIY Costa Rica, built the Costa Rica Destination Tool, and designed the Costa Rica Trip Planning 101 E-Course. In addition, Nikki has written about or presented Costa Rica on Rick Steves' Monday Night Travel show and podcast/radio show, in Wanderlust Magazine, and for Essentialist. Want to show your appreciation for her free article below? Thank Nikki here. ❤️️


Get the Costa Rica info you need by browsing our article's TABLE OF CONTENTS:
- The perfect Costa Rican dessert… just in time for Independence Day!
- Our flan de coco health disclaimer
- Quick flan de coco recipe item list
- How to make flan de coco – Part #1: Constructing the flan’s sugar/caramel base layer
- How to make flan de coco – Part #2: Creating and applying the flan de coco mixture
- Optional: Serving the flan on a platter
- Flan de coco tips
The perfect Costa Rican dessert… just in time for Independence Day!
Happy Independence Day, Costa Rica!
On the 15th of September each year, we celebrate Día de la Independencia, the birth of the rich coast that we call “Costa Rica”. For many Ticos (Costa Ricans), the day signifies independence, strength, unity, and pride. For others, it represents parades, parties, school performances, demonstrations of cultural dress, and the crafting of faroles (lanterns). To learn more about Independence Day celebrations in Costa Rica, don’t miss our related blog post Independence Day In Costa Rica.
Though we dine on Costa Rican cuisine throughout the year, I make a special note of preparing a full Costa Rican feast on the nation’s big day. My go-to dessert is one of Ricky’s favorites and a popular Latin American delicacy, not to mention a staple on most Costa Rican restaurant menus: Flan de coco (Coconut flan).
Don’t miss our related blog posts:
Costa Rica Food Guide: 30 Things To Eat In Costa Rica And When To Eat Them
Costa Rica Drink Guide: 20 Things To Drink In Costa Rica (Alcoholic And Non-Alcoholic)
Have you seen the F.R.I.E.N.D.S. episode The One with the Two Parties? In it, for Rachel’s birthday, Monica prepares a birthday flan in lieu of a traditional birthday cake. The disappointment of everyone in the room is summed up by Joey, who pokes the gelatinous dessert with dismay and mutters: “Happy birthday Rachel, here’s some goo.” Now, if Joey had been a Costa Rican, we’re certain that Monica’s effort wouldn’t have been met with such resistance. In fact, if Joey was at all like Ricky, the flan wouldn’t have lasted the entirety of the birthday party without being devoured. There certainly wouldn’t have been enough flan left to <<spoiler alert>> destroy with a volleyball at the end of the episode granting Rachel’s birthday wish.
If you’re in the mood for a Costa Rican treat, consider preparing flan de coco. It’s light, sweet, and easy to make by following the instructions below. Oh, and if you’re feeling extra patriotic and want to dress the part of a proud Tica while you bake, consider picking up the “Love” brand’s maxi dress that I’m wearing in the photo below. Not only is the thick strap, razorback, floor-length dress insanely comfortable, but the dress’s material perfectly replicates the Costa Rican flag in sections. I call it my Tica dress. 🙂


Our flan de coco health disclaimer
It’s worth noting that the preparation of flan de coco breaks just about every food rule that I try to follow because it’s unhealthy in a multitude of ways. Since Ricky and I maintain a fairly strict, healthy diet that’s saturated with nutrient- and vitamin-packed foods, our consumption of flan de coco is essentially taboo. This being said, as an occasional treat that we give ourselves only once or twice each year, we thoroughly enjoy the cheat. If you can get past the use of processed white sugar (as well as eggs and milk products, if you’re a vegan), not to mention the high fat content that comes from using evaporated milk and condensed milk, flan de coco is worth a taste.
Quick flan de coco recipe item list

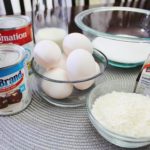
Products you will need
- White sugar (1+1/2 cup)
- Large eggs (6)
- Vanilla (1 teaspoon)
- 1% or 2% milk (1/2 cups)
- Evaporated milk (1 can)
- Sweetened condensed milk (1 can)
- Shredded unsweetened coconut (2/3 cup)
Equipment you will need
- Small stovetop pot; ideally with a lid
- Baking dish (Pyrex round bundt pan or similar); ideally a glass dish
- Blender
- Spatula (optional)
- Large mixing bowl (optional)
Optional items
Use these items if you plan to display the flan while entertaining
- Serving platter/plate; ideally with a rim
How to make flan de coco – Part #1: Constructing the flan’s sugar/caramel base layer
Step #1: Melting the sugar to create caramel
For this step you will need
- White sugar (1 cup)
- Small stovetop pot; ideally with a lid
Before you begin to prepare the batter for the flan’s base, set your oven to preheat to 350 degrees Fahrenheit.
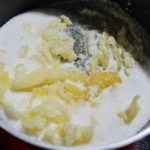
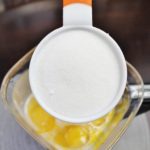
- Separate the sugar into 1 cup and 1/2 cup portions. Pour the 1 cup of sugar portion into the pot. Put the 1/2 cup of sugar portion aside for later use.
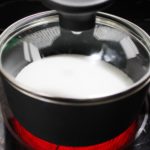
- Place the pot on a stove-top burner set to medium-to-high heat. If a lid is available, apply the lid to the pot to contain heat and help the sugar melt from all angles.
- Every 10 seconds, lift the pot off the stove-top burner (remove the pot’s lid, if applicable) and giggle the pot enough to move the sugar around the pot. The purpose of this step is to ensure that the granules on the bottom of the pot do not burn. DO NOT stir the sugar using a utensil.
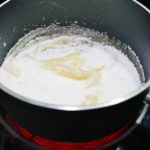
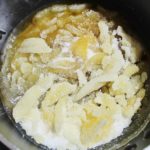
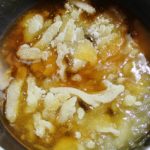
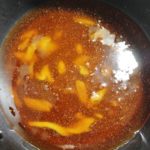
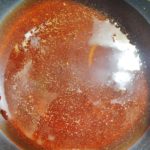
- Continue the above step for as long as necessary (typically 5 or 6 minutes), to a) allow the sugar to have time to melt in the pot, and b) give the sugar time away from any heat (when lifted from the stove-top burner) to prevent burning. Be patient; for the first minute or so it will appear as if nothing is happening, but throughout the melting process and as you continue to shake the pot, you will be able to see the sugar form clumps. Don’t worry about the clumps as they’ll eventually melt with further heat application and pot shaking. Remove the pot from the stove-top burner for good when all of the sugar has melted and the liquid is dark orange in color. It should resemble transparent caramel.
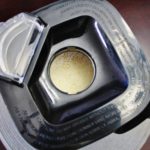
Step #2: Using the caramel to create the flan’s base layer
For this step you will need
- Baking dish (Pyrex round bundt pan or similar); ideally a glass dish
- Spatula (optional)
Complete the following step IMMEDIATELY upon completing the steps outlined above. If you wait to complete the following step more than a minute after you have completed the steps outlined above (i.e., after you have removed the pot from the stove-top burner for good when all of the sugar has melted), the caramel will begin to cool/harden and it will be too late to use it.
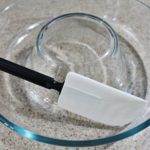
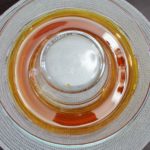
- Very carefully (the caramel will be piping hot!), pour the caramel direct from the pot into the bottom of the baking dish. Use a spatula to scrape all of the caramel contents out of the pot. DO NOT use the spatula (or any other utensil) to spread the caramel throughout the baking dish as doing so will cause the caramel to clump. In order to ensure that the caramel spreads evenly around the bottom of the baking dish, tip the dish so the caramel runs wherever you need it to go. Note that the caramel will dry in about 1 minute’s time, so you must work quickly to get the contents out of the pot, into the dish, and spread out evenly. Also note that no pre-greasing of the baking dish is necessary.
- Carefully, as the bottom of the baking dish will be very hot, place the baking dish in the fridge. Though this step isn’t required, I find that cooling the baking dish in the fridge for five or ten minutes (while I create the flan de coco mixture as described in the next step below) helps ensures that the caramel base is fully cooled/hardened by the time the flan de coco mixture is added to it.
How to make flan de coco – Part #2: Creating and applying the flan de coco mixture
Step #1: Prepare the flan de coco mixture

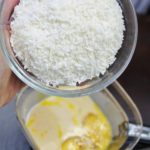


For this step you will need
- Large eggs (6)
- Vanilla (1 teaspoon)
- 1% or 2% milk (1/2 cups)
- Evaporated milk (1 can)
- Sweetened condensed milk (1 can)
- White sugar (1/2 cup)
- Shredded unsweetened coconut (2/3 cup)
This step couldn’t be easier.
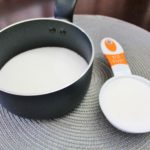
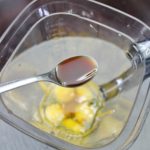
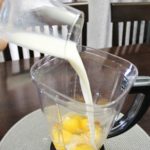
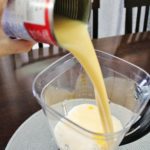
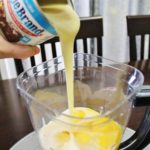
- Combine the eggs, vanilla, 1% or 2% milk, evaporated milk, condensed milk, remaining sugar, and coconut into a blender and mix for 3 minutes. When completely combined, the mixture should be runny and resemble milk, but slightly yellow in color. The mixture will also be bubbly at the top (thanks to the eggs) and heavier on the bottom (the result of sinking coconut). Alternatively, if you do not have a blender, you can mix the ingredients by hand in a bowl.
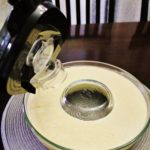
Step #2: Apply the flan de coco mixture to the caramel base

For this step you will need
- Flan’s sugar/caramel base layer (in the baking dish)
- Flan de coco mixture (in the blender)
You’re almost there!
- Remove the baking dish from the fridge. You may notice that the caramel has cracks throughout (or hear slight cracks as you handle the dish), which isn’t a problem. The cracking is caused by temperature changes and won’t affect the taste of the dessert. The caramel will even out again when it melts in the oven.
- Pour the entire contents of the flan de coco mixture into the baking dish on top of the caramel base. Note that it is normal for the blended mixture to pour smoothly at first and appear thick by the end thanks to coconut sitting at the bottom of the blender. Be sure to pour the entire mixture into the baking dish, including any lasting coconut shreds. If you strain the mixture to remove the clumpy coconut shreds, you’ll also remove much of the dessert’s desirable flavor.
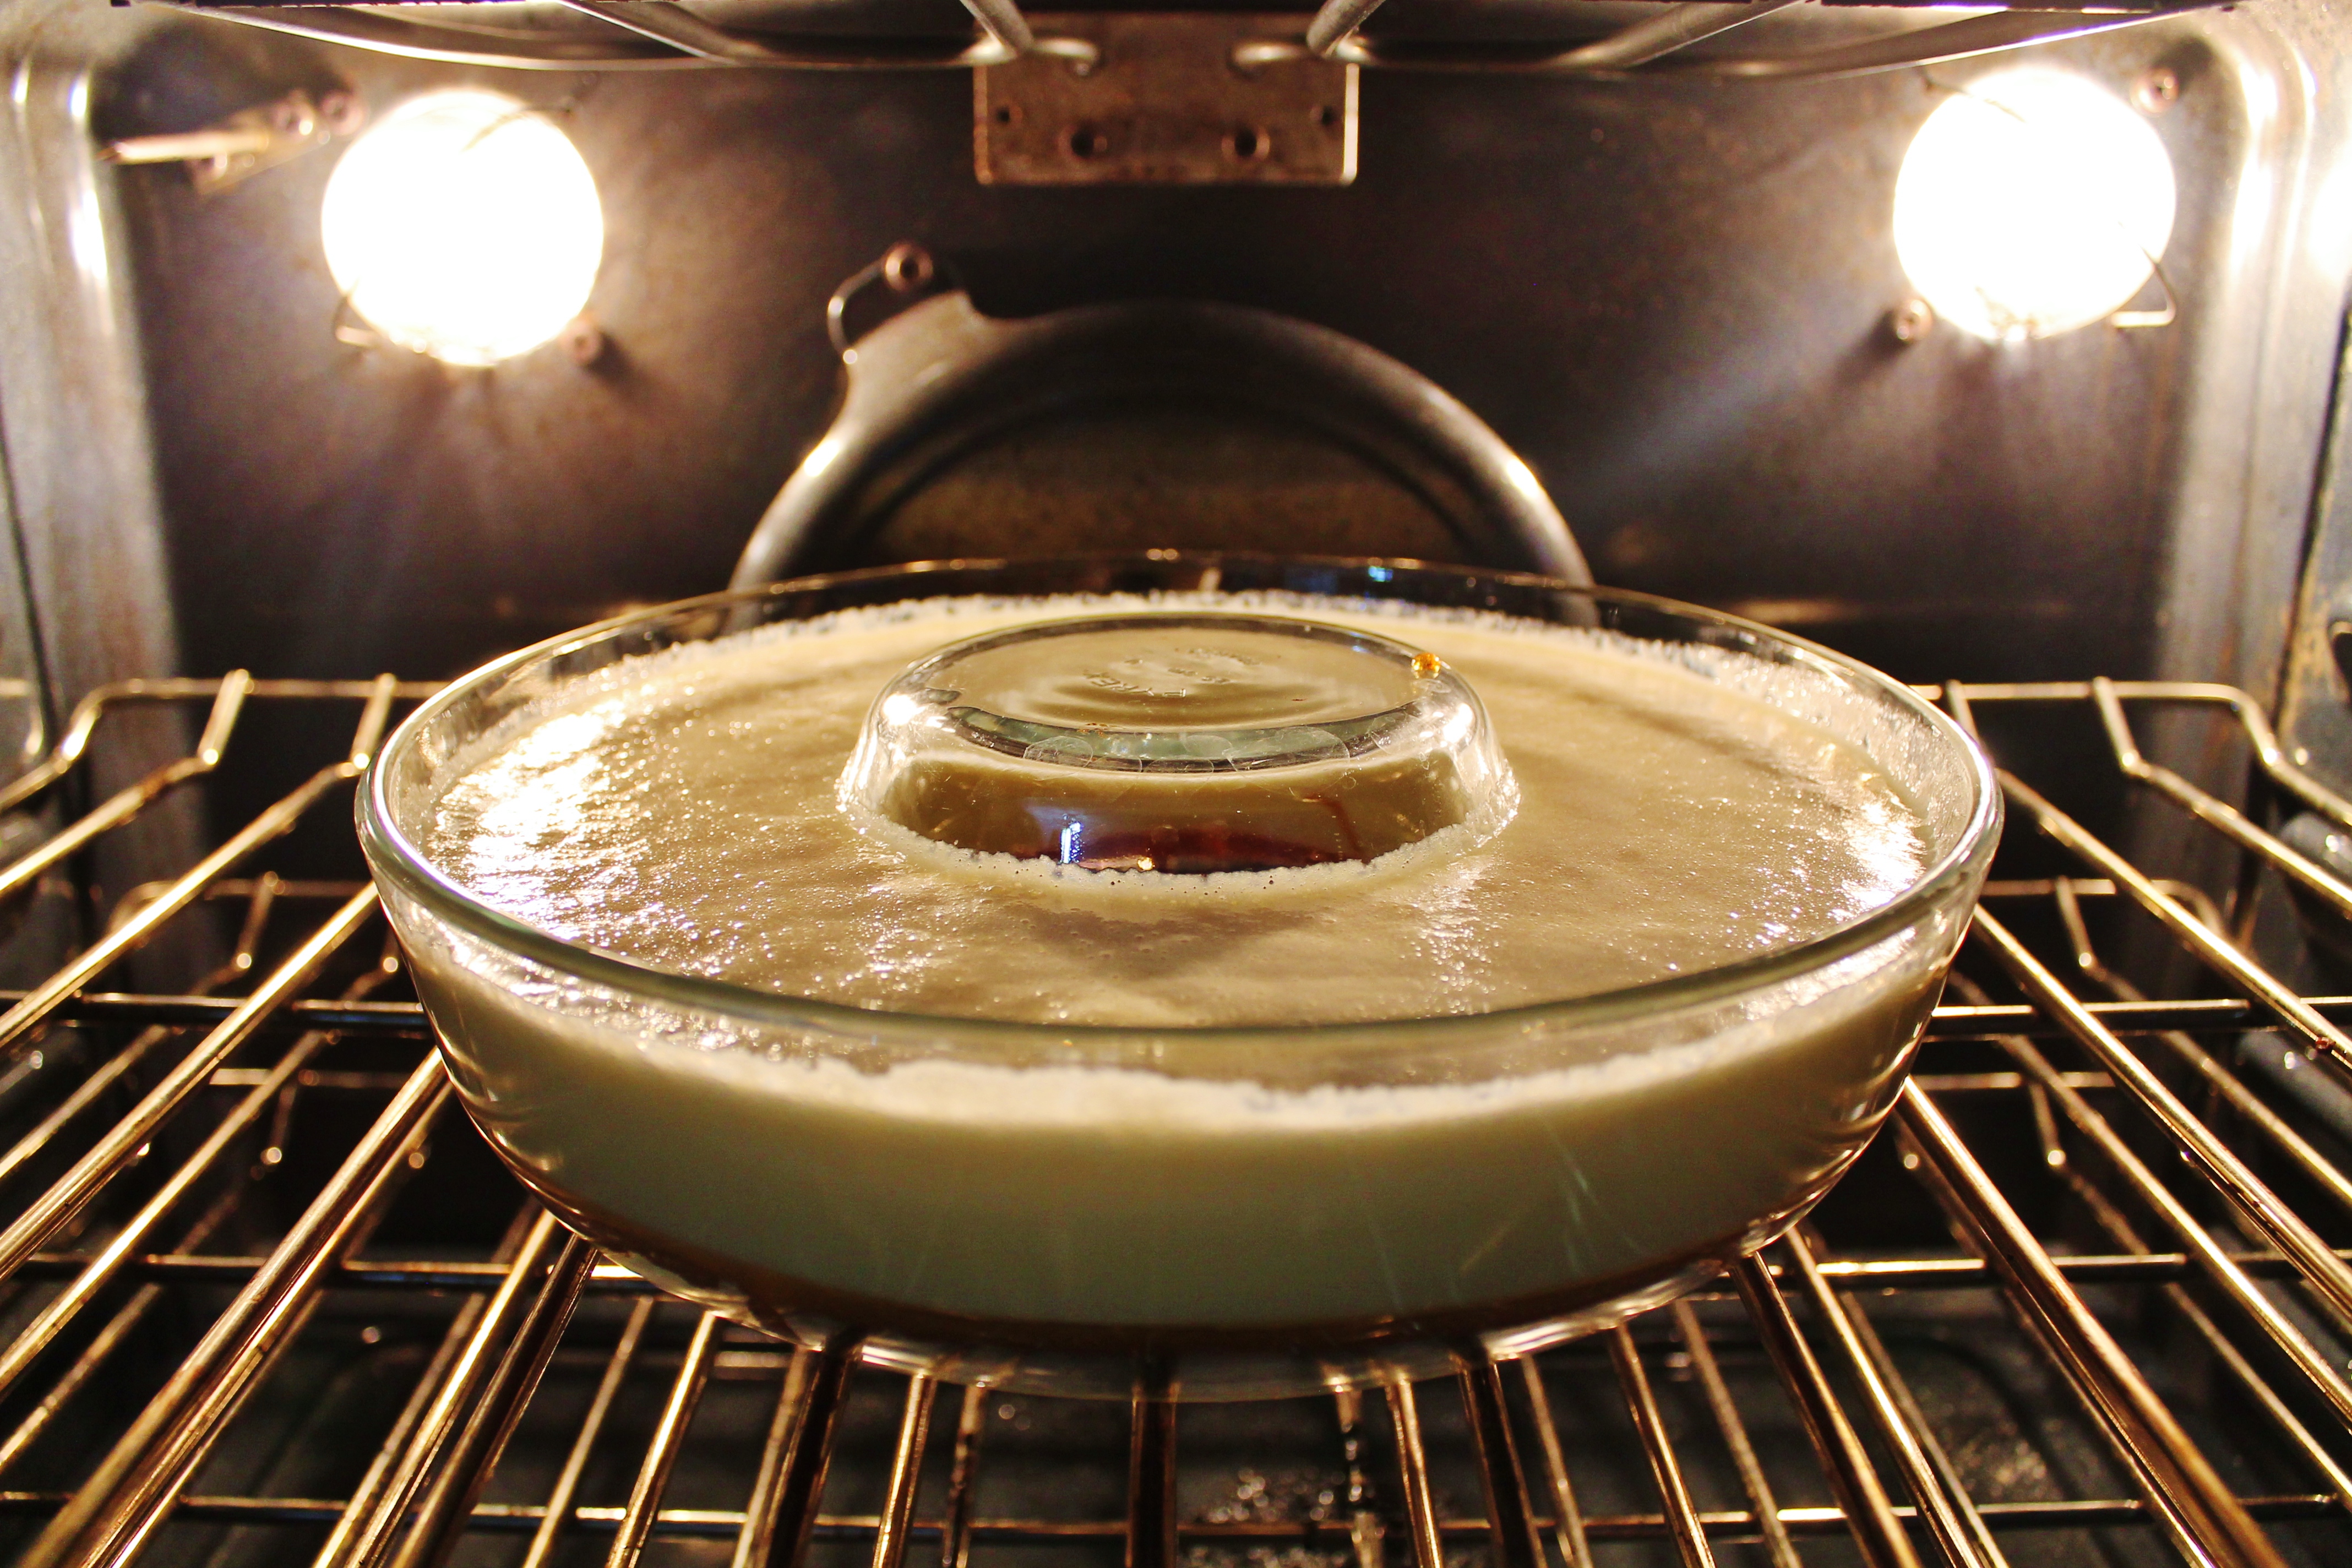
Step #3: Bake the flan
For this step you will need
- Uncooked flan (in the baking dish)
Before you begin to bake the flan, ensure your oven has reached 350 degrees Fahrenheit.
- Place the baking dish in the middle rack of the oven.
- Set the oven timer to bake the flan for 45 minutes.
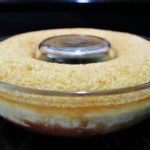
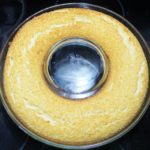
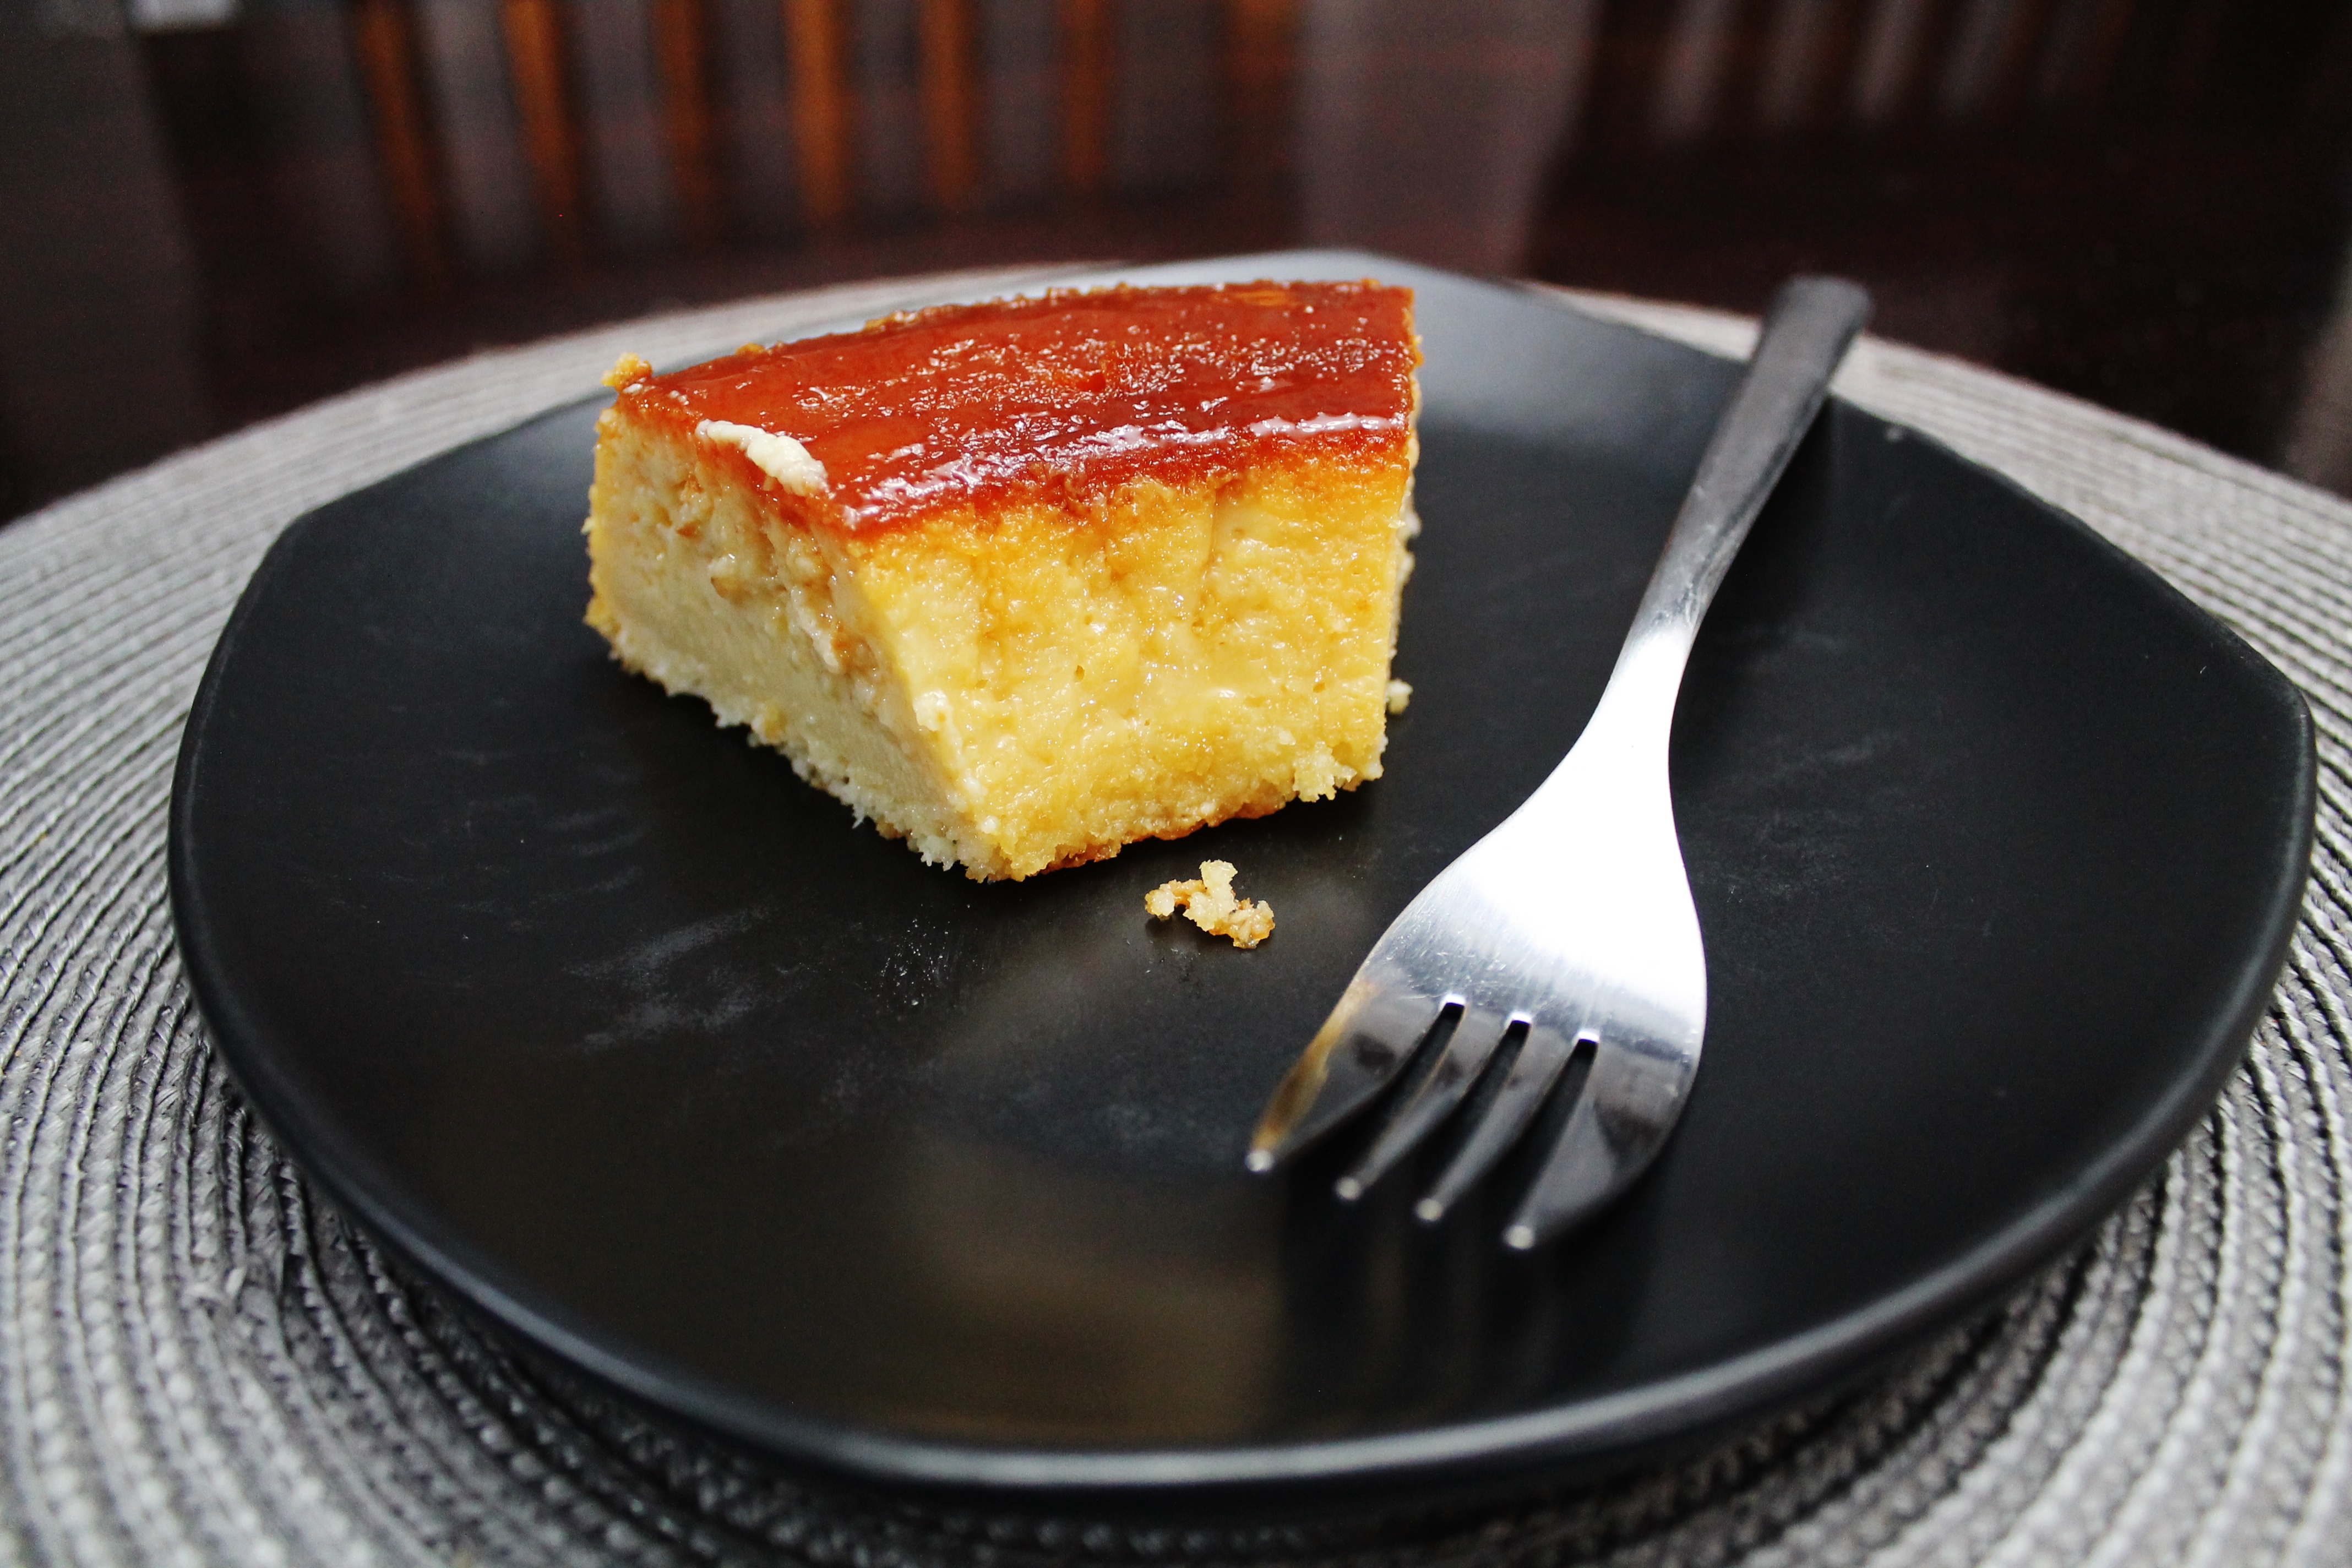
- Once the flan has cooked for 45 minutes, turn off the oven. Allow the flan to remain inside the oven for another 15 minutes, then remove it and let it cool completely. The visible top of the flan (which is actually the bottom of the flan, since flan is traditionally served upside down) will appear cake-like. There will also be a few cracks throughout the dessert, which will allow you to peek into the dessert’s smooth, gelatinous core. Inside, the flan should appear well-formed and opaque, not runny, mushy, or clear.
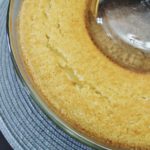
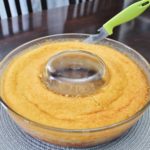
When cooled (or even chilled, if placed in the refrigerator), serve the flan direct from the baking dish, one slice at a time. Once a piece of flan has been removed from the dish, use a spoon to scoop out some of the melted caramel sitting at the bottom of the dish and drizzle it over the top of the slice.
Alternatively, if you plan to serve your flan while entertaining and you’d prefer to present the dessert in a nicer way, follow the optional instructions provided below.
Optional: Serving the flan on a platter


For this step you will need
- Cooled, cooked flan (in the baking dish)
- Serving platter/plate; ideally with a rim
If you would prefer your flan to look fancy and presentable, consider serving it on a platter or fancy plate. For the purpose of our demonstration, we used round, inexpensive, tinfoil pizza plates, which are ideal because they offer a convenient lip around the edge. Try to choose a platter or plate that offers a similar lip to avoid a mess with runaway caramel.
- When cooled (or even chilled, if placed in the refrigerator), run a sharp knife around the edges of the baking dish a few times to ensure complete separation between the dish and the flan. Since we used a bundt dish, we needed to cut around both the inner and outer circles of the dish.
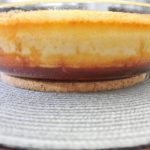
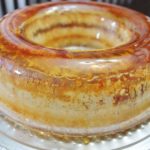
- Turn the platter or plate you wish to use upside down and place it on top of the flan’s baking dish. While holding the platter or plate in place with your thumbs, use your other fingers to clasp onto the bottom of the baking dish. In one quick flip, turn everything over so the platter or plate is on the bottom and the baking dish is on top, albeit upside down. Be sure to flip everything over as evenly and quickly as possible to avoid one side of the flan releasing from the baking dish before the other. DO NOT lift the baking dish away from the flan right away; leave it where it is for 10 minutes so the caramel base layer (which is now the top layer of the flan) has a chance to drip from the baking dish onto the dessert.
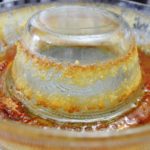
- Carefully lift the baking dish away from the flan. Soak it in hot water right away to make cleaning easier later. You should find that the caramel that was once at the bottom of the dessert acts as a helpful deterrent from the flan sticking to the bottom of the dish. Note that there will be caramel remnants left in the bottom of the baking dish that will be discarded when the dish is cleaned. This caramel needn’t be included with the flan–the flan will be sweet enough!
Flan de coco tips
Store the flan in the fridge and serve it cool
Though the flan will last for a number of days, the longer you wait to eat it, the drier and less flavorful the dessert will be. We recommend consuming the flan within 2 days of preparation.
If you wish to tinker with the recipe, make sure you keep the same ratio of eggs to milk.
I like to think that, following years of practice, I can bake flan de coco with my eyes closed. But there was a time when I couldn’t seem to accomplish the correct flan consistency. One time the flan barely set and I was left with a mess of what I can only describe as half-chilled, coconut-flavored Jell-o. Once I realized that eggs can’t be added or removed without milk equally being added or removed, I learned how important the ratio of the two ingredients is to the flan’s ability to bake properly. My advice? Stick to the recipe’s proportions exactly. If you wish to make any modifications, ensure that your ratio of eggs to milk remains consistent.
If you would prefer to make a low-fat flan de coco, use low-fat evaporated milk and low-fat condensed milk
In my experience, the low-fat ingredient versions of the two do not hinder the flan, so we tend to make use of them whenever possible. For regular milk, do not use less than 1% milk.
I regularly bake flan de coco using low-fat ingredients because I don’t note a difference in flan quality otherwise. If you want to use low-fat milk, do not use less than 1% milk.
Don’t be put off by the cake’s jiggle
Flan is meant to be gelatinous. Though I’m more accustomed to baking traditional birthday cakes that stay put when I set them on a table, flan de coco (like most Costa Rican desserts) is meant to be wet and even a bit slimy. If you dare to be like Monica and serve a birthday flan for one of your F.R.I.E.N.D.S., don’t second-guess your baking abilities if your dessert moves and grooves more than your party guests.
QUESTION TO COMMENT ON: Have you tried flan de coco in Costa Rica? What did you think? Have you attempted to bake it on your own? How did it go?
Pura vida!

Hey, Costa Rica Travel Blog reader, thank you for visiting and reading our blog! We're truly grateful for your time and preference.
Do you know that your spam-free reading experience is most important to us? Unlike some other Costa Rica blogs, we do not to sell your personal information, and we choose not to display ads, sponsored content, or affiliate marketing on our blog so we can keep your visit as distraction- and junk-free as possible. Because we prioritize your privacy, we don't earn money when you visit us, when you sign up for our e-course, or when you click on our links, which means the time and work we put into this blog—including its 300+ articles—is entirely voluntary! If you find our content valuable, and you'd like to thank us for making the trip-planning process easier and your Costa Rica vacation more enjoyable, please consider making a small donation ($1, $2, $3, or an amount of your choosing) to our blog. Doing so is a great way to pat us on the back if you feel we deserve it. 😊 Pura vida, amigos!

Click on the button above to donate through PayPal. (If you cannot see the PayPal button above, click here.) A PayPal account is not required to make a donation; credit and debit cards are also accepted. PayPal donations are confidential; we never see your payment details.
Love our blog? Check out our other Costa Rica-related projects, too:


Tagged: coconut, coconut flan, cooking, costa rica, costa rica dining, costa rican cuisine, costa rican desserts, costa rican food, dessert, dining, flan, flan de coco, food